Create a Raster Line Drawing from a Photo
Convert one authorized photo into a raster line drawing that emphasizes contours, line weight, and sparse shading while preserving subject geometry, pose, proportions, and composition.
Sign in required before running this tool.
No Credits are charged until you run the tool.
Optionally describe the desired line weight, contour emphasis, sparse shading, and geometry that must remain especially clear.
What is Photo to Line Drawing?
Photo to Line Drawing simplifies color and tonal areas into contour structure, varied line weight, and restrained sparse shading. It preserves the main subject geometry, pose, proportions, and composition. The result is a raster line drawing, not a stencil, not an editable vector, not a CAD drawing or technical drawing, not an exact survey, and not a production-ready engineering drawing.
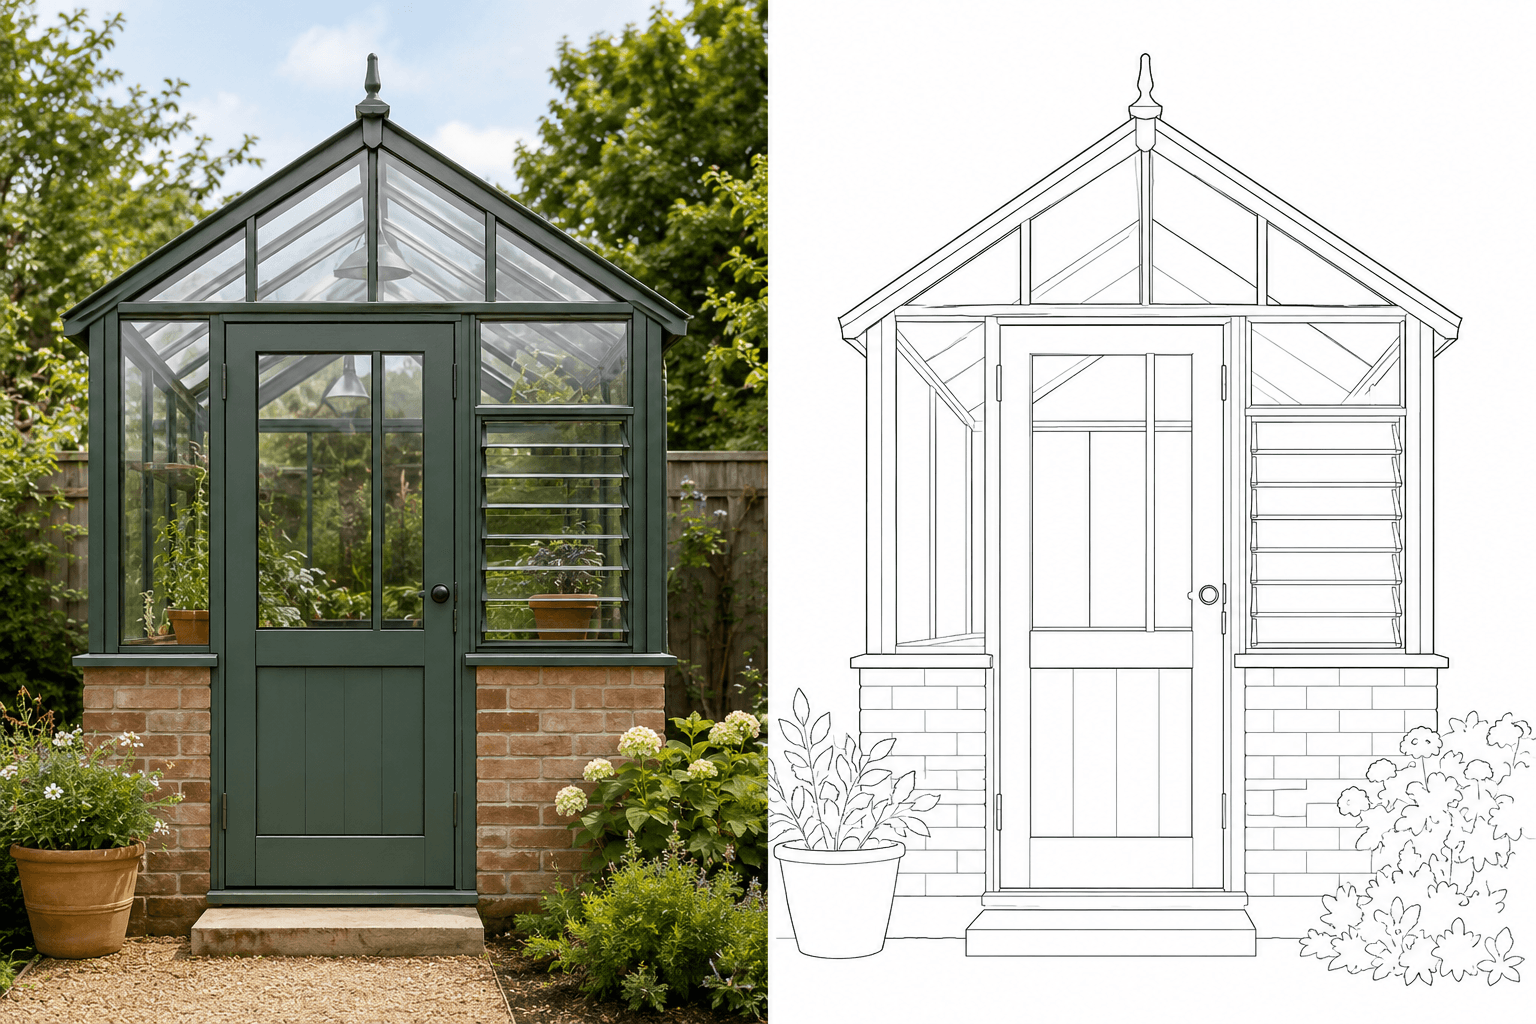
Which contours carry the subject when color is removed?
Study the hierarchy of outer edges, interior structure, and limited shading before developing a separate manual illustration.
How to use Photo to Line Drawing
- 1
Choose a contour-readable source
Upload one private PNG, JPEG, or WebP whose subject geometry and composition you are authorized to transform.
- 2
Identify the structural contours
Mark the outer silhouette, interior edges, perspective lines, and relative proportions that must stay recognizable.
- 3
Describe line weight and shading
Optionally use 4 to 2,000 characters to prioritize contours and request only restrained sparse shading or hatching.
- 4
Generate the raster line interpretation
Run the single-image conversion knowing that color may simplify while geometry, pose, proportions, and composition remain protected.
- 5
Inspect contour hierarchy and geometry
Review outer and interior lines, sparse shading, perspective, pose, and proportions before using the private image as a drawing reference.
Examples
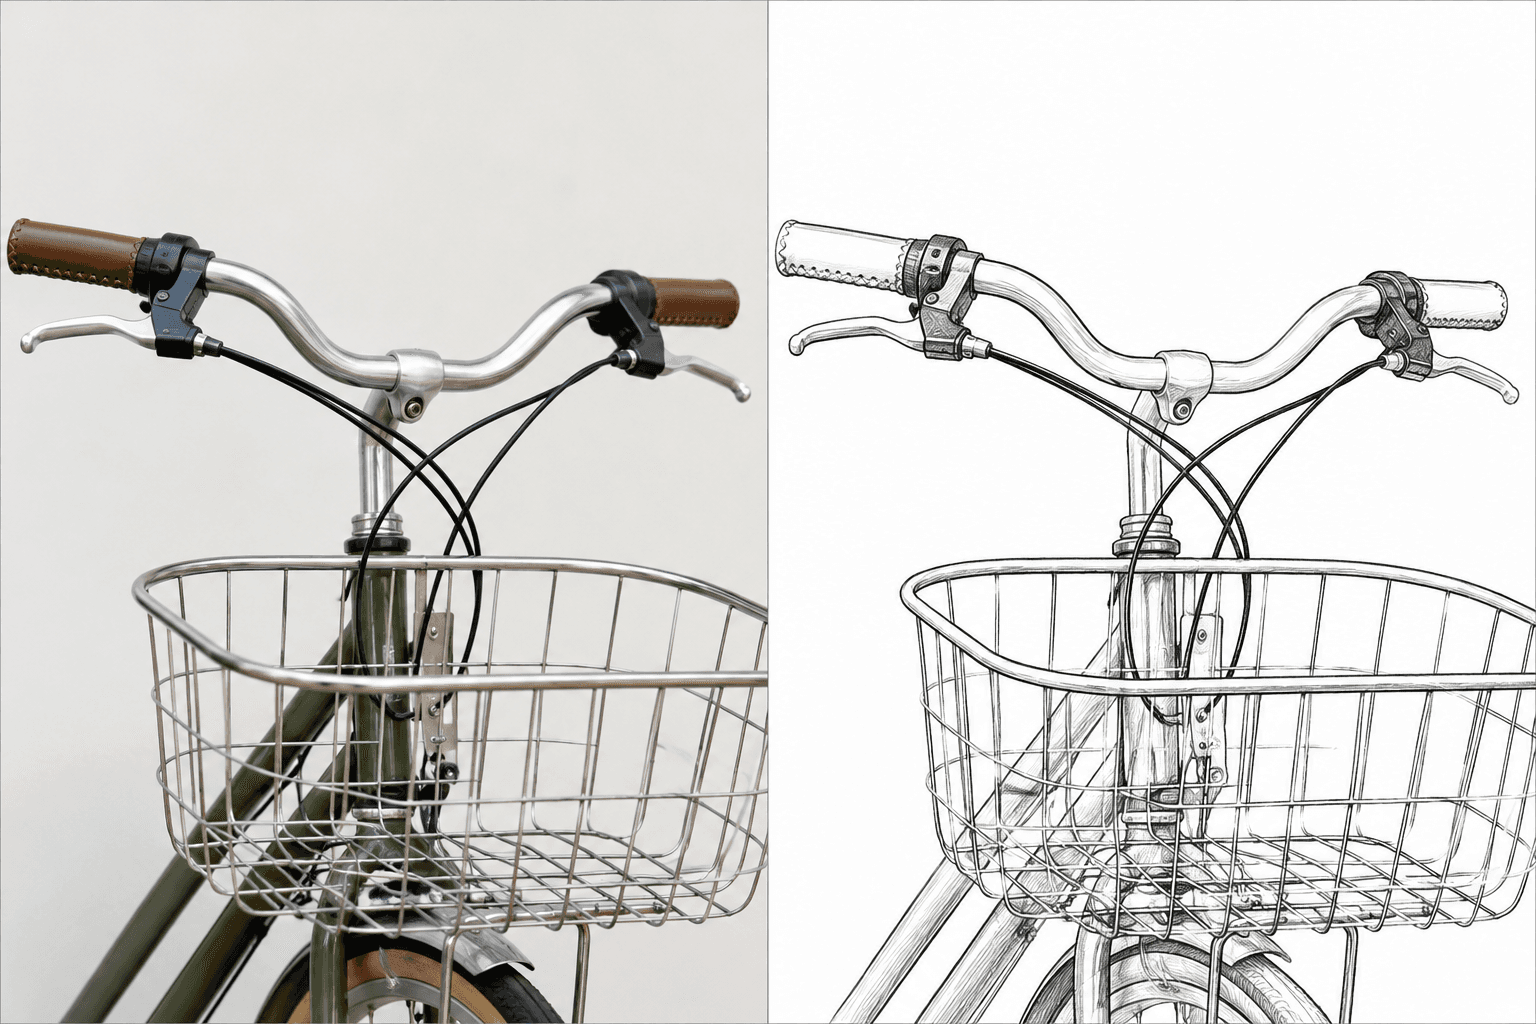
Bicycle basket detail
Use a stronger outer contour for the handlebar and basket, lighter interior lines, and sparse shading; preserve basket topology, cables, crossing lines, crop, and angle while leaving fine omissions visible.
One private PNG raster line drawing with the handlebar and basket geometry preserved and fine detail honestly simplified.
Use cases
Study the contour hierarchy of an authorized photo before creating a separate hand-drawn illustration.
Simplify an owned building photo into a visual line study without treating it as measured technical documentation.
Prepare a private raster outline that can be manually reviewed and refined for a non-technical activity layout.
Why use Photo to Line Drawing?
Contour hierarchy control
Optional guidance can distinguish stronger outer contours from lighter internal structural lines.
Restrained sparse shading
A small amount of shading or hatching can clarify form without replacing the line-focused treatment.
Geometry and proportion preservation
Subject geometry, pose, proportions, perspective, and composition remain tied to the authorized source.
Private raster drawing
A successful result is saved to My Media as one private PNG raster line drawing with its source relationship.
Limits
FAQ
What changes when a photo becomes a line drawing?
Color and broad tonal areas may simplify into contours, varied line weight, and a small amount of sparse shading or hatching. The drawing should communicate the major visible structure without turning the source into a different subject or composition.
Which source relationships must the drawing preserve?
The main subject geometry, pose, proportions, and composition must remain recognizable. Important relative sizes, angles, and placements should stay tied to the source even though color and dense texture are reduced into a simpler line interpretation.
What kind of photo gives clearer contours?
Choose one image with readable edges, useful contrast around the main subject, and enough resolution to distinguish important geometry. Heavy blur, crowded overlap, or extremely fine texture can make contour priority ambiguous and should be reviewed carefully.
How should I describe line weight and shading?
Use 4 to 2,000 optional characters to identify stronger outer contours, lighter internal lines, and areas where sparse shading may clarify form. The guidance cannot override geometry preservation, safety, ownership-mark, or raster-output limits.
How is this different from Photo to Stencil?
A line drawing uses contour hierarchy, line weight, and limited shading to describe form. It is not a stencil made from connected black-and-white regions. Choose this page when line structure matters more than solid positive and negative shapes.
Why is the result not an editable technical file?
The result is a flattened raster interpretation. It is not an SVG or editable vector, does not provide editable paths, and is not a CAD drawing, technical drawing, exact survey, or production-ready engineering drawing. Validate measurements separately.
Which files, dimensions, and storage rules apply?
Upload one authorized PNG, JPEG, or WebP up to 20 MB, between 64 and 4096 pixels on each side. A successful run saves one private PNG to My Media and retains its source relationship for later review.
What happens if no usable line drawing is saved?
A refusal, technical failure, or empty result does not create a usable saved image. When no usable result is saved, the existing Credit release or refund policy applies; adjust the source or contour guidance before another run.
Related tools
Start using Photo to Line Drawing now
Convert one authorized photo into a raster line drawing that emphasizes contours, line weight, and sparse shading while preserving subject geometry, pose, proportions, and composition.
Run Photo to Line Drawing