Add a Subtle Vignette to a Photo
Add a restrained vignette around the outer edges of one authorized photo. Choose the edge falloff strength and identify the clear center while the subject, colors, text, and composition remain protected.
Sign in required before running this tool.
No Credits are charged until you run the tool.
Optionally request subtle, medium, or darker edge falloff and identify the subject area that should remain clear.
What is Vignette Photo?
Vignette Photo changes only edge brightness and the smooth transition toward an unchanged center. Use it to reduce bright corners or guide attention toward a centered subject without relighting the entire scene. The private source photo keeps its people, text, colors, composition, objects, and ownership marks; the tool does not add content, crop the image, or apply a broader visual style.
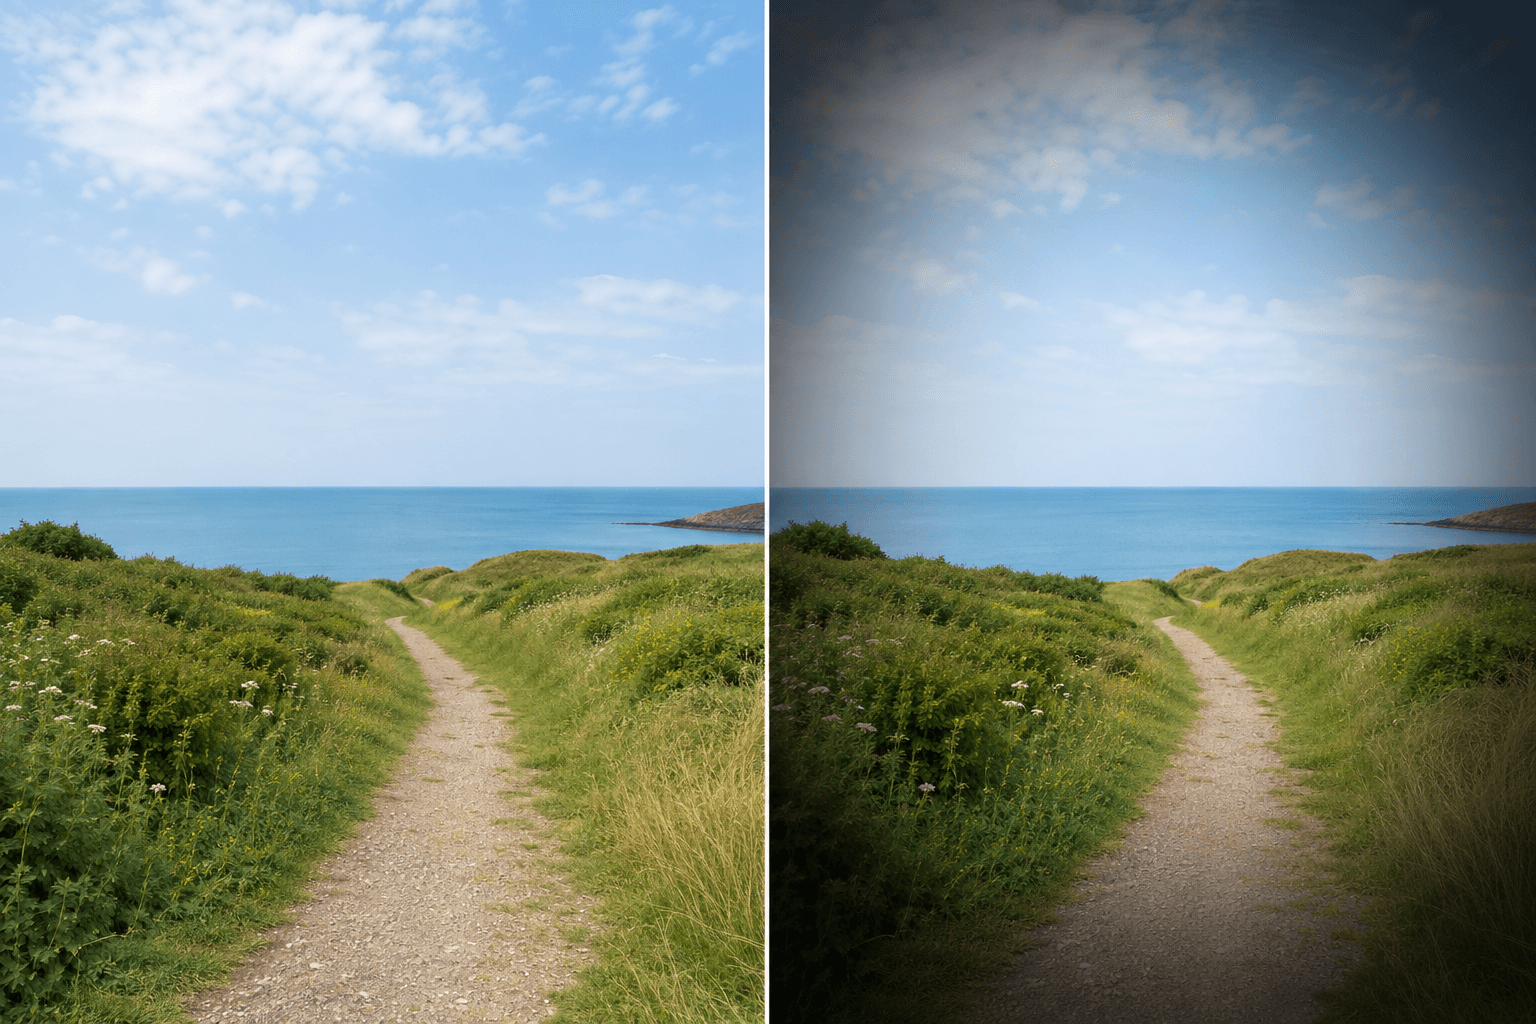
Do bright corners pull attention away from the subject?
Define the clear center and apply smooth edge falloff instead of changing the full scene lighting or rebuilding the composition.
How to use Vignette Photo
- 1
Choose the finished composition
Upload one private PNG, JPEG, or WebP whose crop and subject placement should remain unchanged after the edit.
- 2
Identify the clear center
Name the face, object, or central area that must stay clear, especially when the focal subject is not perfectly centered.
- 3
Choose the edge falloff
Optionally request subtle, medium, or darker edge brightness with a smooth transition in 4 to 2,000 characters.
- 4
Run the edge-only treatment
Start the edit knowing that the complete scene remains protected and only edge brightness may transition toward the clear center.
- 5
Review edges and central detail
Inspect all four edges for smooth falloff, then confirm the subject, colors, people, text, marks, and composition are unchanged.
Examples
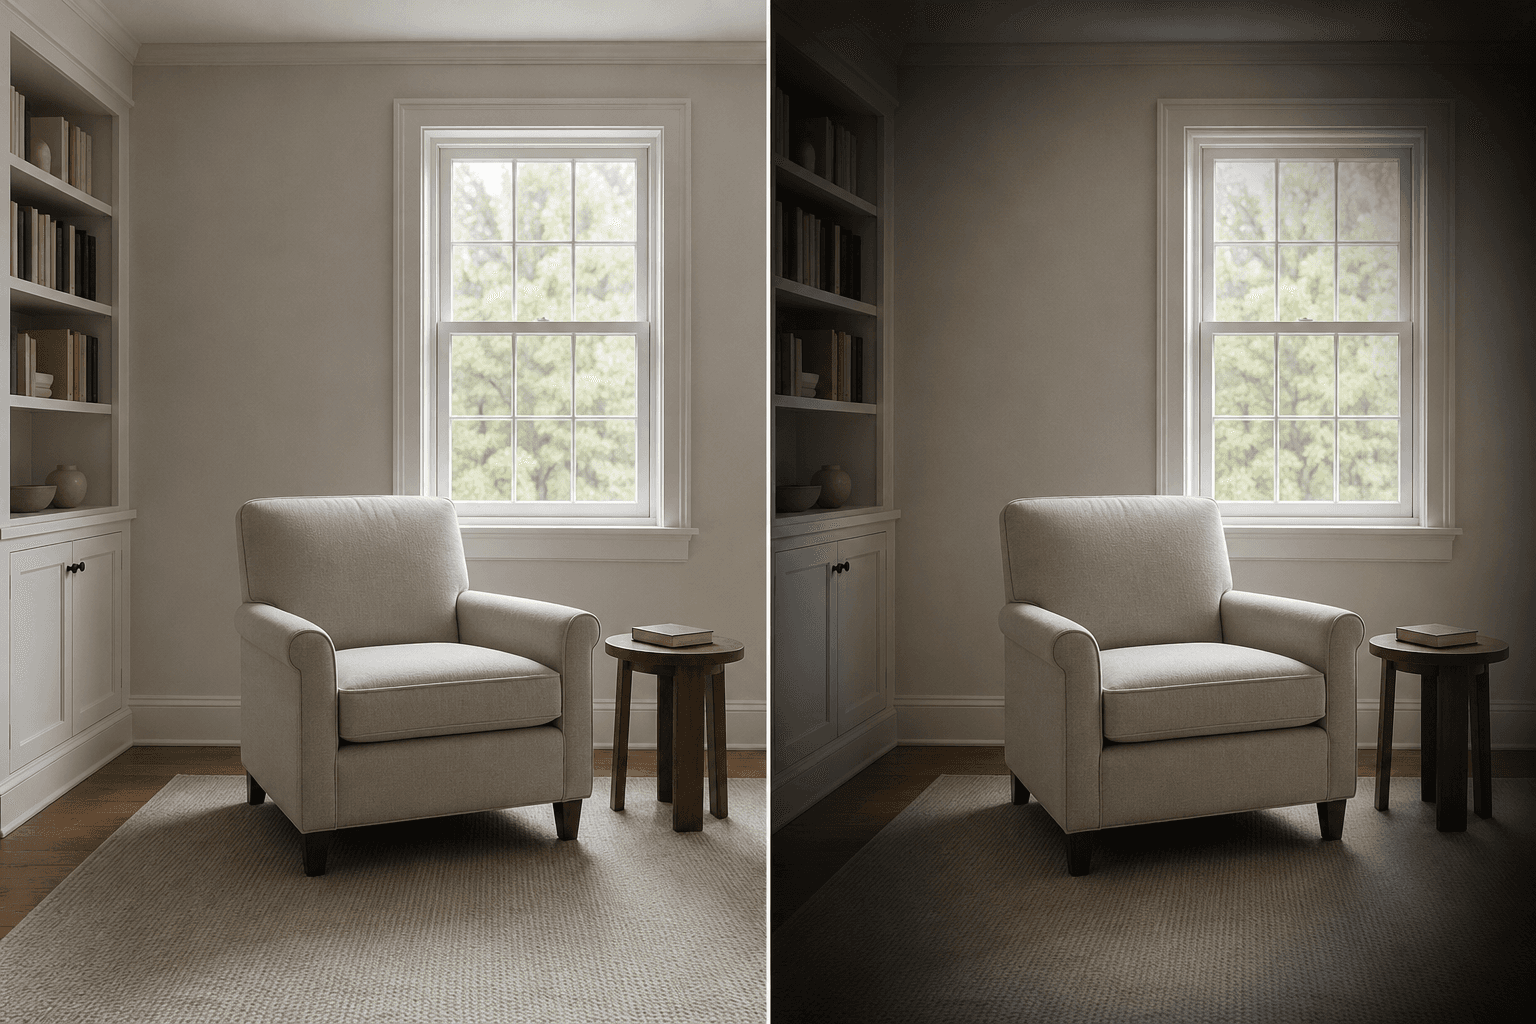
Reading-room focus
Apply a moderate dark vignette with smooth edge falloff; keep the central chair, window geometry, colors, furniture, and center exposure unchanged.
One private raster treatment with darker room edges and an unchanged central chair and window.
Use cases
Reduce bright outer areas while keeping the face, clothing, and color treatment intact.
Guide attention toward an existing central object without relighting the full scene.
Tone down distracting corners while preserving the original crop and slide-ready composition.
Why use Vignette Photo?
Edge-only brightness control
The allowed change is limited to outer-edge brightness and its smooth inward transition.
Explicit clear-center guidance
Optional instructions can identify an off-center face or object that must remain clear.
Complete scene preservation
People, colors, text, objects, ownership marks, and the original composition stay protected.
Private raster treatment
A successful edit is saved to My Media as one private PNG photo treatment with source lineage.
Limits
FAQ
What does the vignette change?
Only edge brightness and the smooth transition from the outer frame toward the clear center may change. The edit is not allowed to add objects, redraw the subject, or restyle the photograph.
Can I choose how strong the edge falloff should be?
Yes. Optional details can request a subtle, medium, or darker vignette and can identify the subject area that should remain clear. The instructions stay subordinate to the edge-only policy.
What if the important subject is close to an edge?
Describe the exact face, object, or off-center area that must stay clear. Because only the edges may change, review the transition carefully when important details sit near the outer frame.
Will Vignette Photo change colors, people, or text?
No broader content change is allowed. The central subject, colors, composition, people, text, scene objects, and ownership marks must remain preserved while the edge brightness changes smoothly.
Is this the same as relighting or cropping a photo?
No. Relighting can affect illumination across a scene, while this task is restricted to edge brightness and transition. The complete composition remains in place, and the output is not a crop or editable vignette mask.
Which files and image sizes are supported?
Choose one authorized PNG, JPEG, or WebP up to 20 MB. The source must measure between 64 and 4096 pixels on each side, and each run accepts only one photo.
How are the photo and result handled?
The source remains a private image for the signed-in run. A successful PNG result is saved privately to My Media; if no usable image is saved, the existing Credit release or refund policy applies.
Related tools
Start using Vignette Photo now
Add a restrained vignette around the outer edges of one authorized photo. Choose the edge falloff strength and identify the clear center while the subject, colors, text, and composition remain protected.
Run Vignette Photo